Congratulations on your new subscription to Dynamics 365 for Sales and/or Customer Service! The question you are probably wondering now is how do I access the solution?

You need to finish provisioning your environment before you can login and begin using the solution. If you are working with a partner to implement Dynamics 365, they may take care of this process for you. For others, follow these simple steps to provision your Dynamics 365 Organization. (Note: You must have global admin rights to your tenant to be able to complete the following steps.)

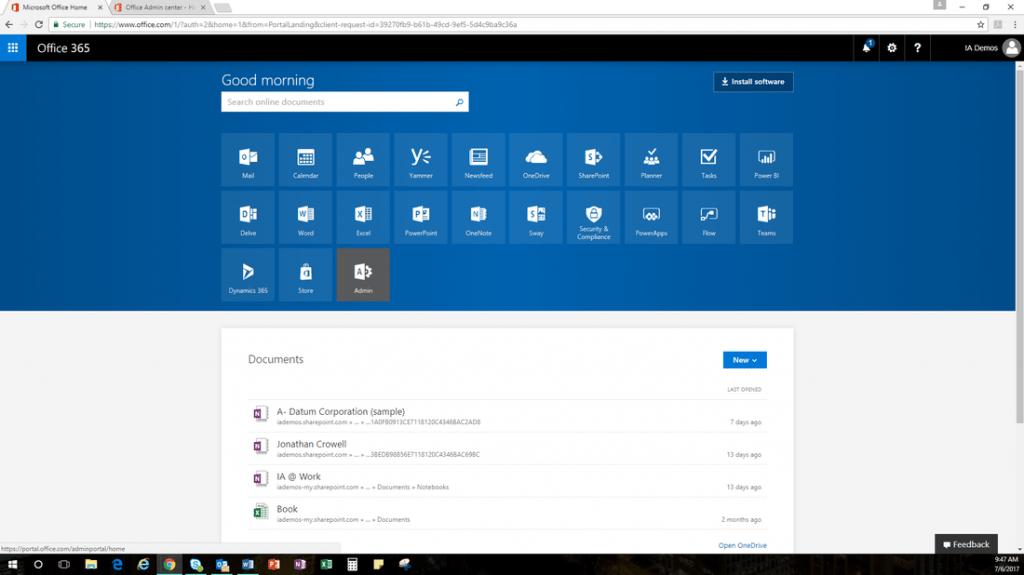
Step 1: Log in to your Office 365 tenant using portal.office.com.

Step 2: Click the Admin tile.

Provisioning Your Dynamics 365 for Sales/Customer Service Environment

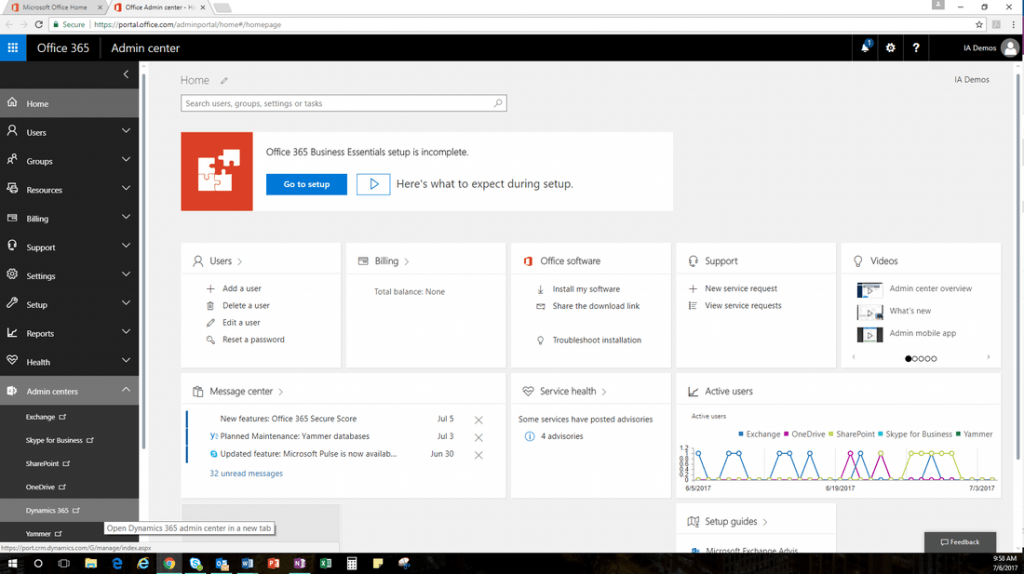
Step 3: Expand Admin Centers on the lower left and click Dynamics 365.

Provisioning Your Dynamics 365 for Sales/Customer Service Environment

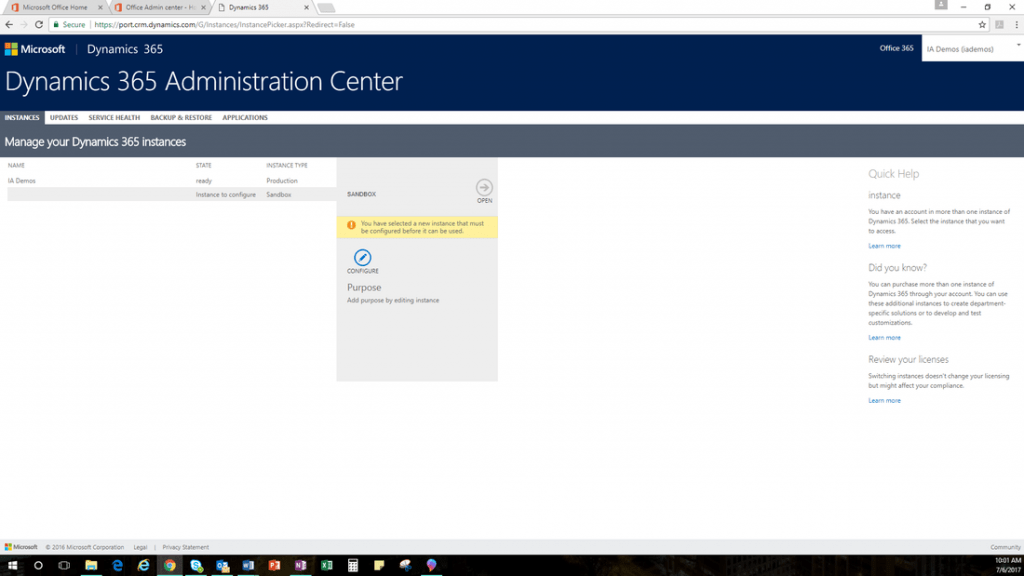
This will bring you to the Instances tab of the Dynamics 365 Administration Center. You should have an instance available.

Step 4: Highlight the instance and click the Configure button.

Provisioning Your Dynamics 365 for Sales/Customer Service Environment

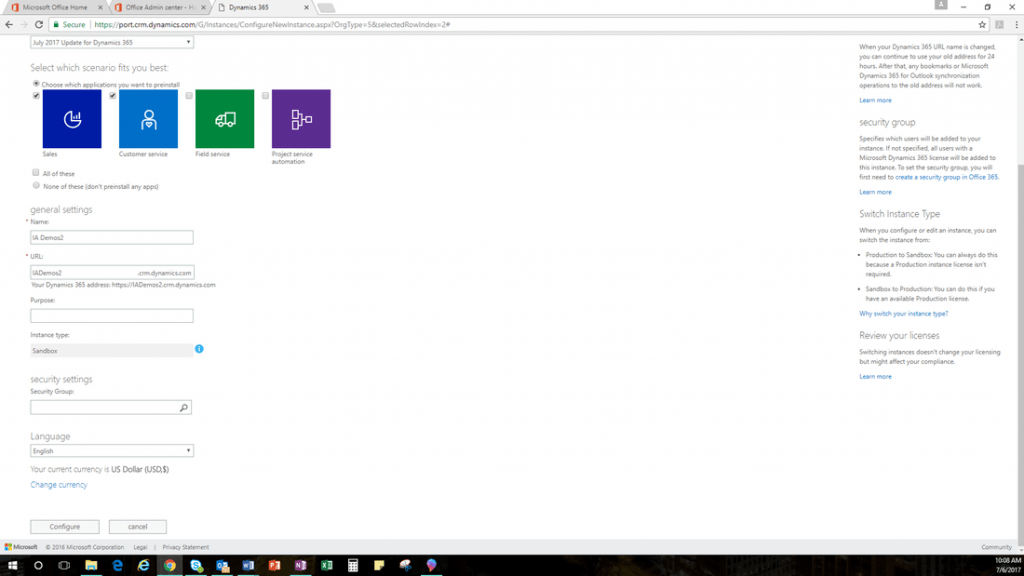
You will be walked through a short wizard to provision the organization.

Some notes:

  • Make sure the correct Dynamics 365 applications are selected
  • Use the same Office365 domain name for your URL (this should be what is listed in the “name” field, which should be pre-populated)
  • Instance type = Production

Provisioning Your Dynamics 365 for Sales/Customer Service Environment

Note: The above picture is from an environment where a Sandbox instance is the only available instance.

Step 5: Click Configure at the bottom of the page.

​​The provisioning/configuration process may take several minutes to complete. You can track the status under the Instances tab.
For further assistance provisioning your organization, or for any help with your Dynamics 365 environment, call us.